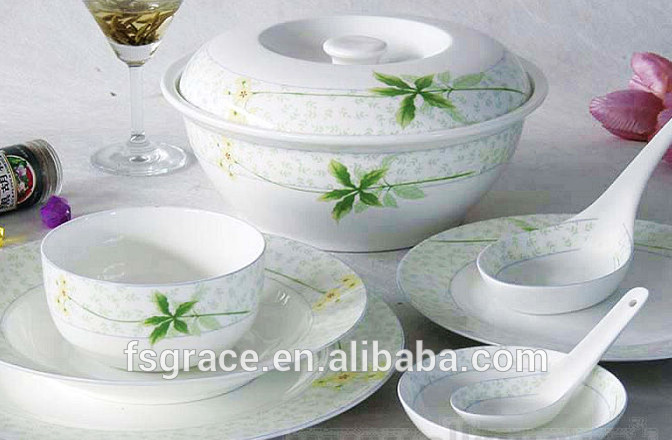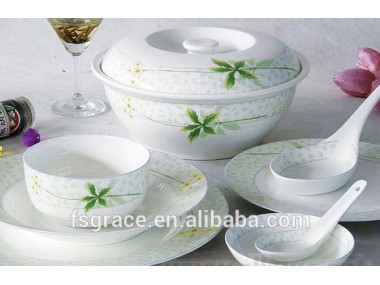

| 原産地: | 中国(本土) | 銘柄: | レインボー | モデル番号: | inglazeデカール | 陶磁器のタイプ: | 骨灰磁器 | 特徴: | 環境に優しい | 材料: | セラミック | 認証: | セリウム/EU | 飲料容器類: | マグ | 色: | パントン色利用可能 |
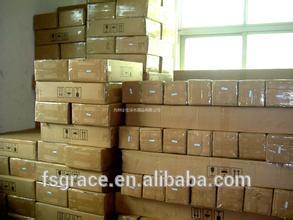
包装
| 包装: | 木製カートン強いカートンプラス。 |
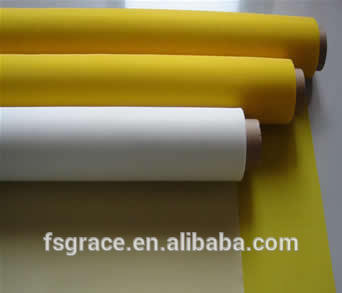
Ceramic Decal Water Transfer Printing
we supply printing service for ceramic decal.
What is Water Transfer Printing?
Water transfer printing can be widely used in many material like plastics, metal, glass and ceramics. It has very good adhesion as single component ink. The lacquer has peel off lacquer and non-peel lacquer. By peel off lacquer we can positively transfer, after peel off the lacquer, only leaves the image colors, the products looks like being directly printing, has better effect. Water transfer printing is widely used in children bicycles, bicycle parts, helmet, rackets, fishing poles, toys and cosmetic packing, etc.
What is the process for water transfer printing?
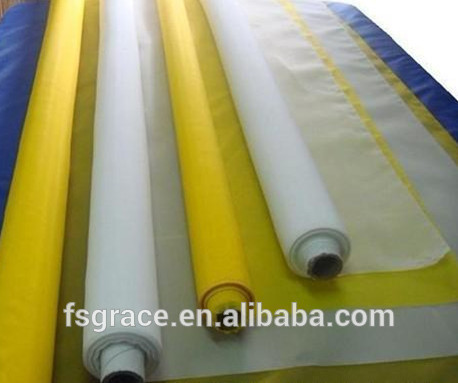
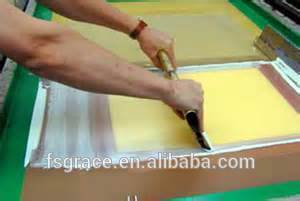
Step1, For clear base print Primer on decal paper by 200~250 mesh count, 0.3~0.5mm bigger than image. If you need white base, printing white ink on decal paper.
Then hard dry for 4-6 hours, drying timing is subject to local weather condition.
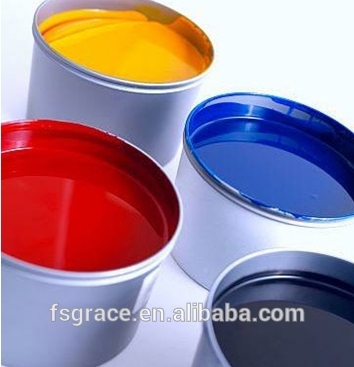
Step2, Print Screen Ink with 250-350 mesh count. Dry for 1 hour at room temperature.
Touch the ink by your finger, if it is not sticky, that’s OK. You can go on with next color.
Step3, Print MEDIUM 0.3~0.5mm bigger than pattern by 200~250mesh count. Here pls pay attention that medium area must cover the area of undercoat area. Then totally dry for at least 4 hours at room temperature. Hard dry.
Step4, Printing Peel off coat or Non-peel coat 0.3~0.5mm bigger than image and same area with base lacquer, which by 60~80 mesh count. One hour to dry at room temperature. That’s done. But you’d better to place the decal for 10-12 hours, then apply the decal.
Tips:
1,Each step must hard dry.
Step1----Primer |
Step2----Screen Ink InkInkInk |
Step3----Medium//Varnish
|
Step4----Peel off coat or Non-peel coat |
Decal paper |
Decal Transfer Procedure:
1. Cut the image out by the edge and put it into water, steep 0.5 ~2 minutes until the image film release from carrier paper and take it out.
2. Place the sticker on the object and press the image film slightly, then take out the carrier paper.
3. Squeeze out the bubble until the film stick on the object tightly.
4. Drying at room temperature for four hours. Or by oven 70 degree, 10~15 minutes, This is subject to the raw material of products.
5. Peel off the “peel off coat” on the top. The image will stay on the object.
(Please note that if you are printing UN-PEEL COAT, ignore this step.)
6. Clean the surface of the pattern.
7. Fire. Depend on different object. Time and temperature is different:
A, Helmet, racket and other plastic object, Spray PU or UV on the top to protect the image. Then fire it .Temperature 60~80 degree, 15~20 minutes.
B, Bicycle, motocycle,and other metal object, need to spray after stick on. Temperature 80~120 degree, 15~20 minutes.
C, Ceramic and enamel must fire 180~200 celsius degree for 30minutes.
Tips:
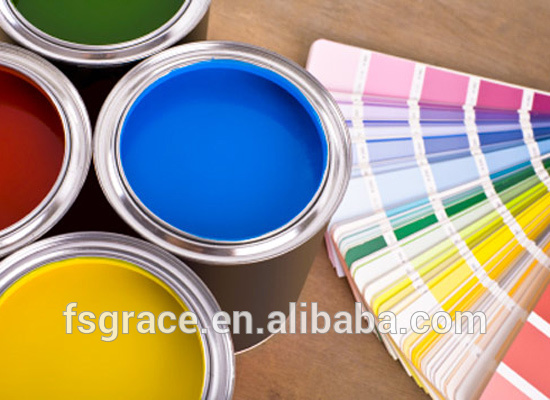
- Apply yellow mesh to print image(Step2---screen ink).
- Apply special primer(base lacquer) to different material product, to increase adhesion.
- Positionting lacquer(Covercoat//peel off lacquer) must dry completely.
- In winter, the positionting lacquer(covercoat) need to mix with softener agent.
- Keep the workshop clean.